Learn More About Our Services

When preparing your design for custom apparel or promotional materials, you need to know about “camera ready” artwork. This refers to a digital file that is fully prepared for printing, ensuring the highest quality result without requiring additional editing.
There are 2 different types of files considered to be high resolution, camera ready artwork and they are used in different circumstances, depending on what you are printing.
When printing at the same size as the designed file, the artwork can be rasterized (created with pixels) and usually includes photos or complex images that include photos and type. These should be high resolution images that are 300dpi (dots per inch). The final file types to save and send to print are typically .pdf or .tif.
For artwork that will be scaled – either made larger or smaller than the original size of the designed file – the image should be a vector file. These images are based on mathematical curves, not dots per inch. This format is typically used for logos, graphics or digital illustrations. The final file types to save and send to print are typically .pdf or .eps.
More About Camera Ready Artwork and Printing Requirements
For businesses like Royal Stitch and Print, providing camera ready artwork is essential for producing flawless prints—whether for DTF (Direct to Film) printing, embroidery, screen printing, or commercial print design.
Let’s review the requirements for camera ready artwork and explain the differences in file preparation for various printing methods, including file types, resolution, and the details you need to consider to achieve the best possible outcome.
File Requirements for Different Printing Methods
Direct to Film (DTF) Printing
For DTF printing, which transfers a printed design onto film and then onto fabric, ensuring that the artwork is set up correctly is key to vibrant, accurate prints. Here are the basic requirements:
- File Type: Vector files (such as .EPS) or high-resolution raster files (such as .PNG or .PSD) with a transparent background.
- Resolution: 300 DPI (dots per inch) or higher to ensure crisp details.
- Color Mode: RGB is acceptable since DTF uses digital printing, but CMYK is recommended for color accuracy.
- Design Considerations: Ensure that the artwork has a clean, solid outline with no pixelation, as DTF printing reproduces fine details.
Embroidery
Embroidery requires artwork to be digitized, a process that translates a design into a format that embroidery machines can read. This is different from standard print files, and the following elements are needed:
- File Type: Vector files such as .EPS, or .PDF are ideal. For embroidery, the file will be converted into a stitch file (DST, PES).
- Resolution: Not applicable for resolution since embroidery is stitch-based, but ensure that the design is simplified, avoiding fine details or thin lines.
- Design Considerations: Limit the number of colors (usually 6–8 max). Keep the design simple with clear, bold lines as embroidery machines struggle with intricate or tiny details.
Screen Printing
Screen printing requires vector artwork and special preparation to separate the colors in your design. Here’s what you need:
- File Type: Vector files like .EPS are preferred for screen printing due to their scalability without losing quality. High-resolution raster images (.PNG or .TIFF) can also work if they’re 300 DPI or higher.
- Resolution: 300 DPI minimum for raster images to avoid blurry prints.
- Color Mode: CMYK or Pantone spot colors. Screen printing separates each color, so precise color management is key.
- Design Considerations: Ensure clean color separations and avoid gradients or complex color blending. Solid colors work best for screen printing.
Commercial Print Design (Business Cards, Flyers, Brochures)
Commercial print design, such as for business cards, brochures, or signs, demands careful preparation for the best results:
- File Type: PDF is the standard for print, but .AI, .EPS, or .INDD (InDesign) files are also widely accepted.
- Resolution: 300 DPI for raster images.
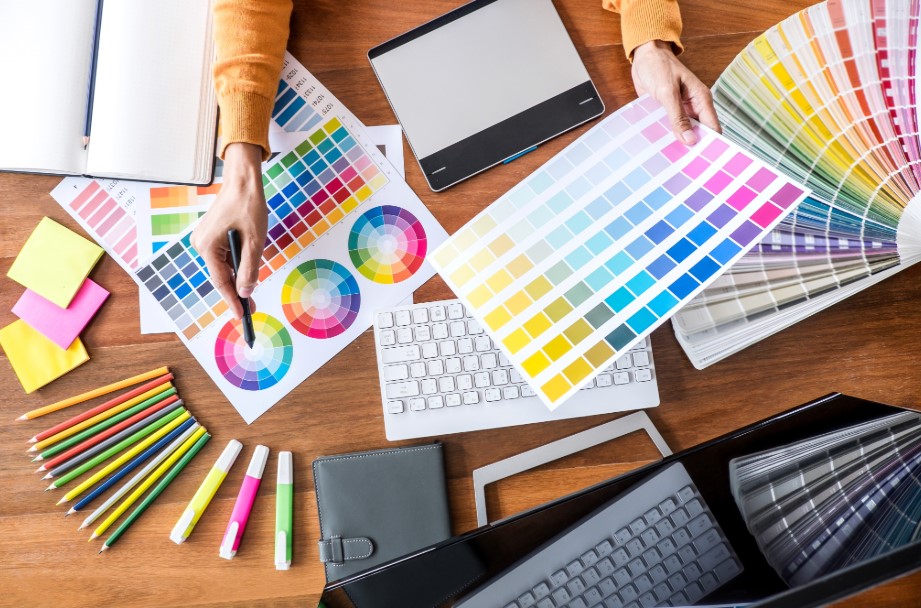
- Color Mode: CMYK for print, as this reflects the ink used in most commercial printers.
- Bleed and Crop Marks: Add a 0.125″ bleed around the edges of your design and include crop marks to ensure that no part of the design is cut off during trimming. This is especially important for full-bleed designs that go to the edge of the paper.
File Types Explained
PDF (Portable Document Format): PDFs are versatile and commonly used for print-ready designs like business cards, brochures, and signage. PDFs can preserve vector and raster elements and include font embedding, making them perfect for commercial print jobs.
Vector Files (.AI, .EPS, .PDF): Vector files are created using software like Adobe Illustrator and are composed of paths instead of pixels. These files are essential for designs that need to be resized without losing quality, making them perfect for logos, screen printing, and embroidery.
Raster Files (.JPG, .PNG, .PSD): Raster images are made up of pixels, which can lose quality when resized. For printing, raster files must be high resolution (at least 300 DPI) to ensure crisp output. PNG files with a transparent background are ideal for DTF and HTV printing.

Resolution Matters
One of the most critical factors in preparing your artwork is ensuring the proper resolution. Resolution is measured in DPI (dots per inch), and the higher the DPI, the clearer and sharper the print will be. For any print-related project, whether it’s DTF, screen printing, or commercial print design, we recommend 300 DPI as the minimum resolution. Lower resolution can result in blurry, pixelated images that look unprofessional.
Color Modes: RGB vs. CMYK
- RGB (Red, Green, Blue) is used for digital displays and is best for DTF printing since it involves digital printers that mix light to create colors.
- CMYK (Cyan, Magenta, Yellow, Black) is used for commercial printing, screen printing, and embroidery. This mode uses ink to create colors, so designs meant for physical printing should be converted to CMYK to maintain color accuracy.
Understanding Bleed and Crop Marks
For commercial print jobs like business cards and brochures, adding a bleed ensures that your design extends beyond the cut line, preventing any white edges from appearing after trimming. A standard bleed is 0.125 inches beyond the trim area. Crop marks indicate where the paper should be cut and are essential for achieving precise dimensions in your final printed piece.
Software for Preparing Camera Ready Files
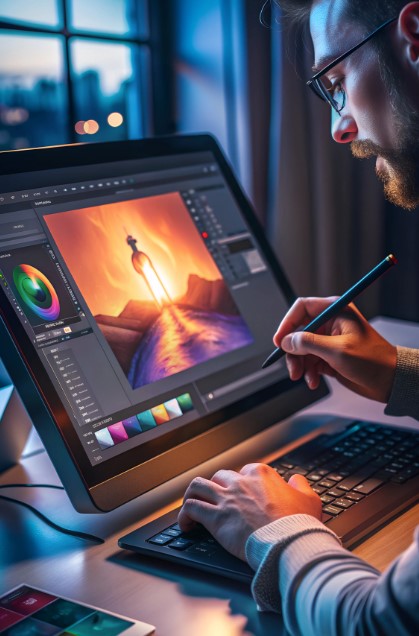
- Adobe Illustrator: Best for creating vector designs, logos, and print-ready files for screen printing and embroidery.
- Adobe Photoshop: Ideal for raster image editing and preparing DTF or HTV files. Ensure that your images are set to 300 DPI before exporting.
- Adobe InDesign: Great for multi-page layouts such as brochures and flyers. InDesign supports CMYK color mode and offers advanced control over bleed and crop marks.
- CorelDRAW: Another popular software for vector-based design, often used in print and embroidery industries.

Camera Ready Artwork Provides The Best Finished Results
Providing camera ready artwork is the first step toward ensuring a flawless printed product, whether you’re working with DTF printing, screen printing, embroidery, or commercial print design. By understanding the different file requirements, color modes, and resolution standards, you can streamline the production process and achieve the best results for your custom apparel or printed materials. At Royal Stitch and Print, we’re here to help guide you through the process and ensure that your design is print-ready, every time.
